
Invert Gravel 400 Hour Service Instructions
May 2025 orig.
Table of Contents
Recommendations and Warnings
Cane Creek recommends only trained suspension technicians perform service on all suspension, using all required tools and following all proper procedures. Anyone without access to the proper equipment or with any concerns on the procedures should defer to an authorized Cane Creek service center for service. Improper service can result in loss of performance or suspension failure. Follow the service procedures exactly as written to avoid possible injury or harm to the suspension. Always wear eye protection while performing suspension service. Please dispose of all waste products and materials through proper channels to avoid contamination of the environment.
Any damage or issues resulting from improper service will not be covered by warranty. If you have a fork still in its original warranty period and do not wish to void your warranty, please contact an authorized Cane Creek service center.
These service instructions cover the basic service procedures using standard service kits. If your suspension requires parts beyond standard replacement parts – legs, chassis, etc. – please consult your authorized Cane Creek service center or contact us at our Cane Creek Support Center.
Service Notes
These instructions pick up from the noted crossover point in the 100 & 200 hour oil and wiper change service. Once air spring and bushing service is completed, you will need to return to the 100 & 200 hour service instructions.
These instructions cover the SL & CS variants. There are no additional or different steps for either variant. The CS is used for these photos which includes the damper on the brake side leg.
Service Kit
BBG0510 – Invert Gravel 400 Hour Service Kit
BBG0508 – Invert Gravel 200 Hour Service Kit (to be used inconjuction with those instructions as noted above)
Required Cane Creek Tools
None
Additional Tools & Supplies
(This covers tools & supplies on top of those listed for the 200 hour service)
8mm shaft clamp
12mm open box wrench
24mm crowfoot
Torque wrench
Knipex pliers
Picks - L-bend & straight
Suspension Grease
Torque, Loctite & Oil Specs
Torque & Loctite Chart
| Part | Torque Spec | Loctite Spec | Oil Spec | Nitrogen Spec |
|---|---|---|---|---|
| Air Seal Head | 5 Nm | 243 (Blue) | — | — |
Related Technical Service Bulletins
Review all related TSBs before performing any service.
No specific Invert Gravel service TSBs at this time.
200 Hour Service Disassembly
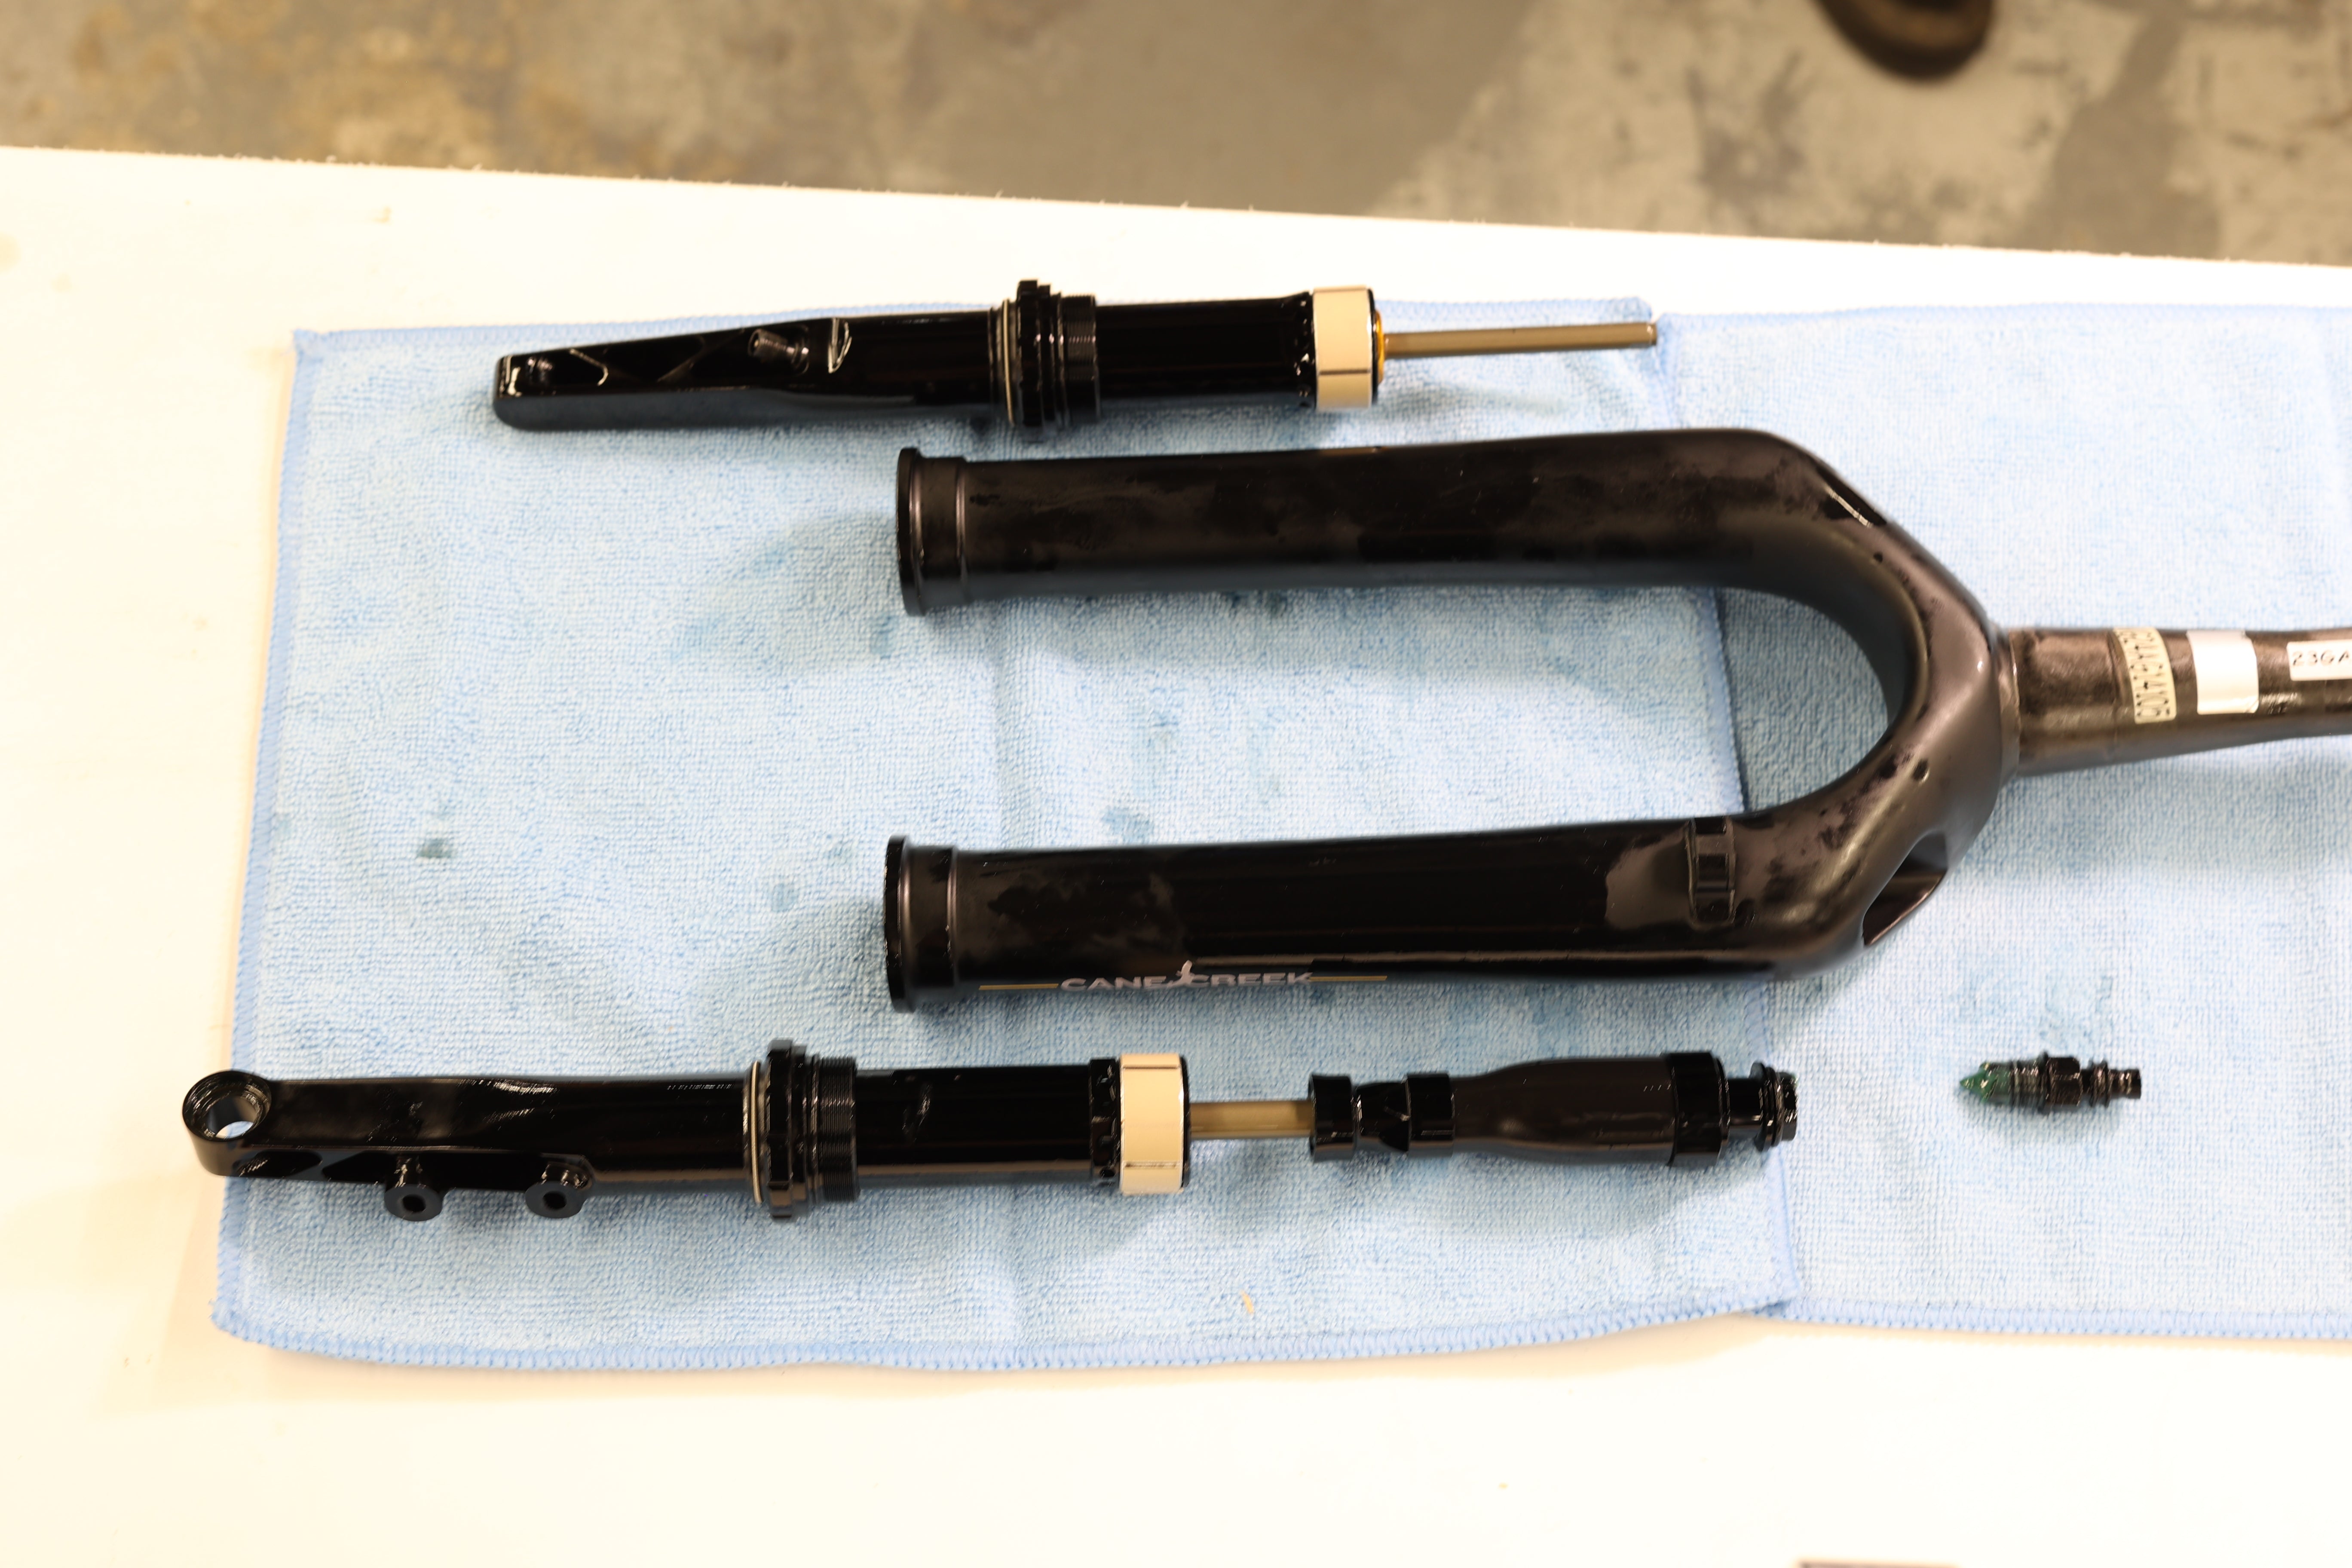
Prior to beginning air spring service, complete the 200 hour disassembly with both spring- and brake-side legs removed.
Legs Removed
Air Spring Disassembly


Step 1 – Upper Bushing Removal
Using pick, remove upper bushing. Discard bushing.
Freeing Bushing
Pushing Bushing Off Leg


Step 2 – Circlip Retaining Puck Removal
Clamp shaft in 8mm shaft clamp, allowing space to access seal head. Using 12mm box wrench on air seal head nut and Knipex on circlip retaining puck flats, free retaining puck from seal head. Fully unthread retaining puck while clamped to capture the seal head in the event of residual air pressure. Once circlip retaining puck is completely free, unclamp shaft and remove puck completely.
Shaft Clamped
Freeing Circlip Retaining Puck
Unthreading Circlip Retaining Puck
Circlip Retaining Puck Removed


Step 3 – Seal Head Circlip Removal
***Use caution as negative air chamber may have residual pressure.***
Reclamp shaft into vice. Locate circlip access hole. Wedge L-pick underneath circlip and hold in place. With secondary pick, pry circlip free. Take care to keep fingers away from circlip in the event of residual air pressure. Keeping L-pick in access hole, remove circlip while keeping seal head secured in place.
Clamping Shaft
Inserting L-pick into Circlip Access Hole
Securing L-pick in Circlip Access Hole
Freeing Circlip
Circlip Removal
Circlip Removed


Step 4 – Air Spring Removal
***Use caution as negative air chamber may have residual pressure.***
With shaft still firmly clamped, pull down on leg to remove from air shaft assembly. Use of Knipex on seal head nut flats to aid removal by twisting may be necessary.
Pulling Down on Leg
Knipex on Seal Head Nut
Leg Removal
Leg Removed


Step 5 – Seal Head Disassembly
Pinch and remove piston quad ring & seal head o-ring. Discard rings.
Air Shaft Assembly
Quad Ring Removal
Quad Ring Removed
Pinching O-Ring
O-Ring Removal
O-Ring Removed
Brake Leg Bushing Swap


Using pick, remove upper bushing and discard. Precompress new bushing (ABG0120) and slide over damper (CS only). Install bushing on air brake leg.
Brake Leg Bushing Removal
Brake Leg Bushing Install
Air Spring Reassembly


Step 1 – Seal Head Assembly
Thoroughly grease new seal head o-ring (AAD1087). Walk o-ring over air piston and install on seal head. Thoroughly grease piston quad ring (ABG0311) and install on piston.
Greasing O-Ring
O-Ring Install
Greasing Quad Ring
Quad Ring Install


Step 2 - Air Spring Install
Lightly grease piston & quad ring and seal head & o-ring. Insert air spring assembly into air leg. Rotation and wiggling will aid install. Apply pressure on seal head nut until fully seated. If necessary, use 8mm shaft clamp as surface to apply pressure. Seal head will click into place when seated.
Greasing Rings
Air Spring Install
Air Spring Install w/ Aid of Shaft Clamp
Air Spring Installed


Step 3 - Seal Head Circlip Install
Align circlip so one end is behind access hole. Install circlip into leg, securing air spring assembly. Using pick, follow circlip all the way around to ensure it is fully seated.
Properly Align Circlip
Circlip Install


Step 4 - Circlip Retaining Puck Install
Apply 243 (Blue) Loctite to seal head threads. Install circlip retaining puck and thread into place. Clamp shaft. Using 12mm box wrench on seal head flats and 24mm crowfoot on circlip retaining puck, torque to 5 Nm.
Applying Loctite to Seal Head
Circlip Retaining Puck Install
Shaft Clamped
Torquing Circlip Retaining Puck

Step 5 - Upper Bushing Install
Precompress new bushing (ABG0120) and install on air spring leg.
Torquing Circlip Retaining Puck
200 Hour Reassembly

Upon completion of air spring and bushing service, return to the full 200 hour service instructions to complete full service.